 In this lesson I explain how to insert a column and why you would want to when using the DIY Spreadsheets. This is going to have you do things that I won’t explain now but in upcoming lessons. I just wanted to show you how to do something that can help you start using the data.
Insert a Column
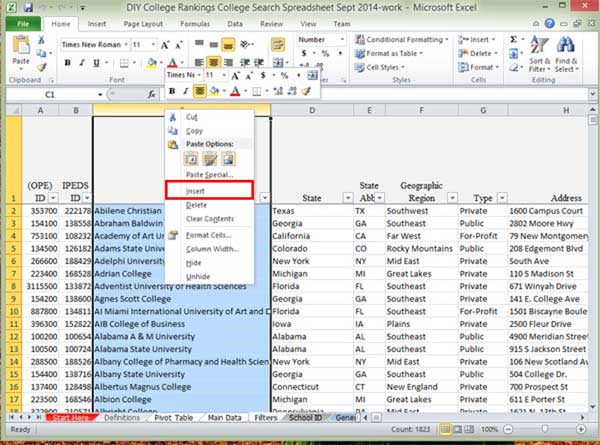
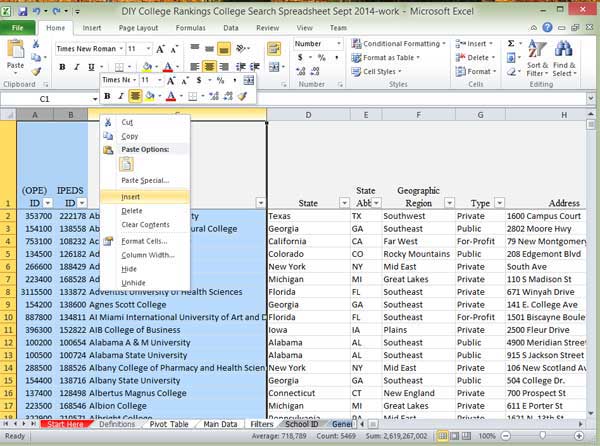
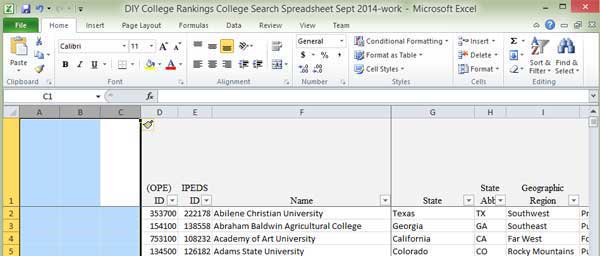
Move the cursor to area above column that you want to insert a column before. Columns are inserted before the selected column or above the selected row. This makes sense when you think about it otherwise how you would insert a column before the very first column?
In this example, I’m inserting a column before the Name column, column C. Right Click and select Insert.
You can also insert a column from the Home tab on the Ribbon. Click on Insert under the Cells group and select Insert Sheet Columns.
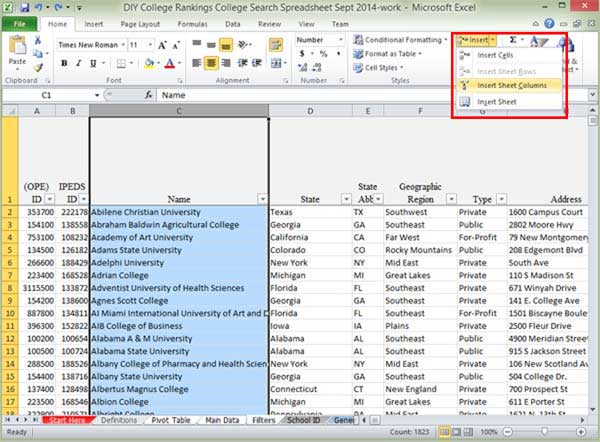
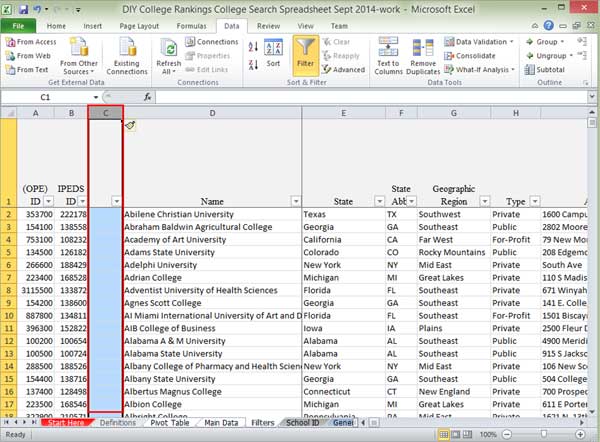
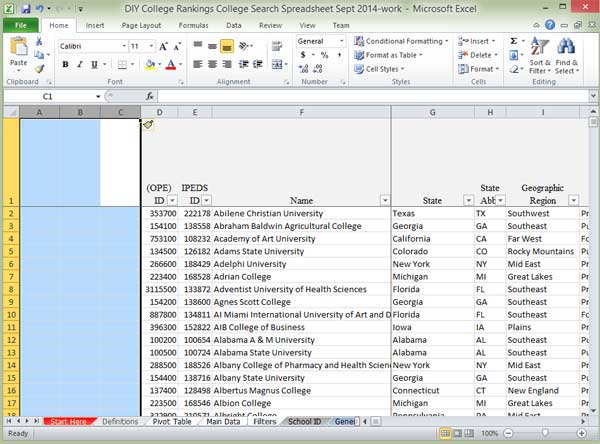
As seen below, a new column appears as column C. The Name column is now Column D.
Insert Multiple Columns
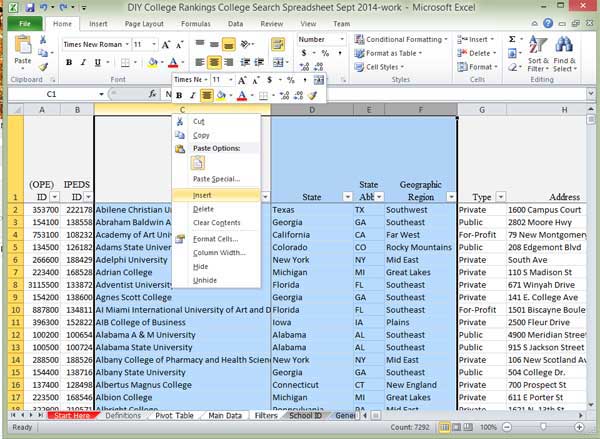
You can insert multiple columns at once by highlighting a column and while holding down the left button, move the mouse toward the right to select the number of columns you want to add. In this example, I’ll be adding four columns before the Name column, column C.
The Name column is now column G.
If I highlight the columns to the left of the name column, Excel will insert the columns before the left-most selected column.
Three columns are added before the OPE ID column, which is now column D.
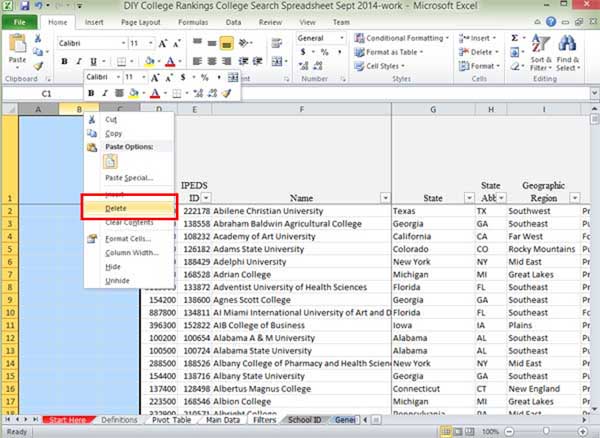
To get rid of columns, highlight the columns you want to delete, right click for the menu, and select Delete.
A Word about Formatting
In the first examples of inserting columns, the new columns have the same formatting as the column next to it.
In the example where we added columns to before the very first column, the columns don’t have any formatting.
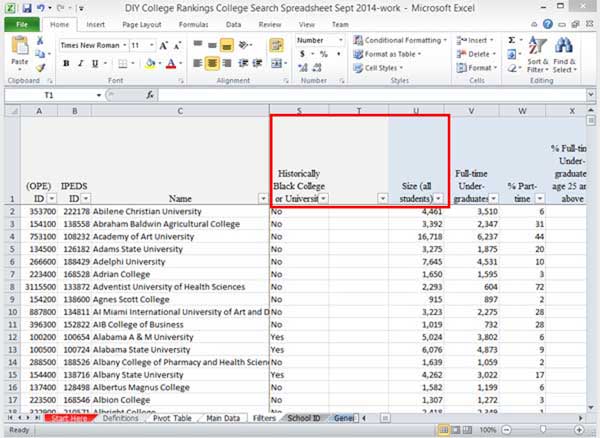
Excel will format new columns the same as the columns to their left. In the example below, the columns are formatted grey even though I highlighted a column with blue formatting for the insertion point. The new column T has the same formatting as column S.
Why Insert a Column
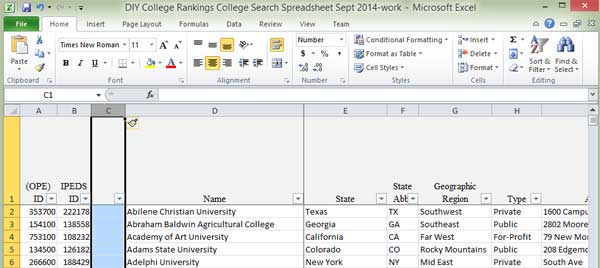
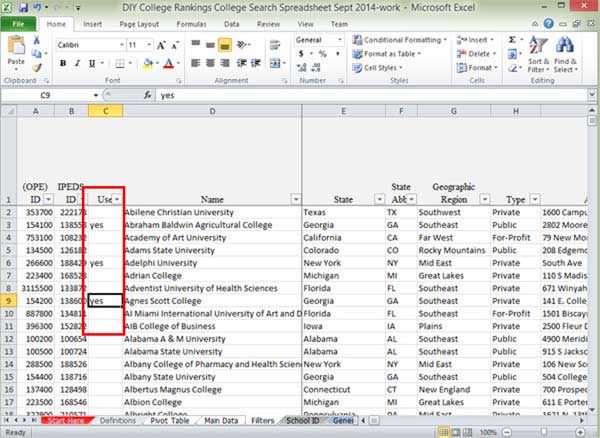
I suggest you enter a column before the Name column as seen below.
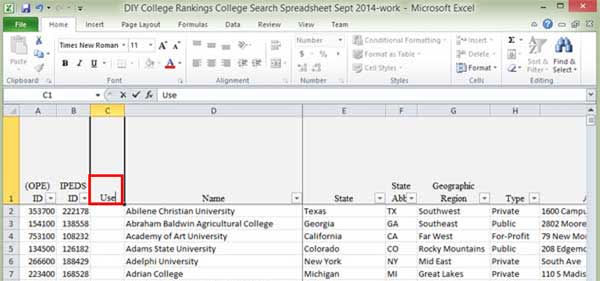
You can use this column to start selecting or ranking the schools. I’m going to show you a basic option for right now that I call the “use” option. I name the column Use. Click on the top row of the column and just type in the word “Use” and hit enter.
Depending on what I’m evaluating the schools for, I type “yes” into the column. I could also type “no” but I generally don’t have any need to. This is using “text” data which I will go into more detail in later lessons.
You can display only the schools you currently want to use in the spreadsheet by clicking on the drop-down arrow at the top of the Use column and unchecking Select All and then checking yes.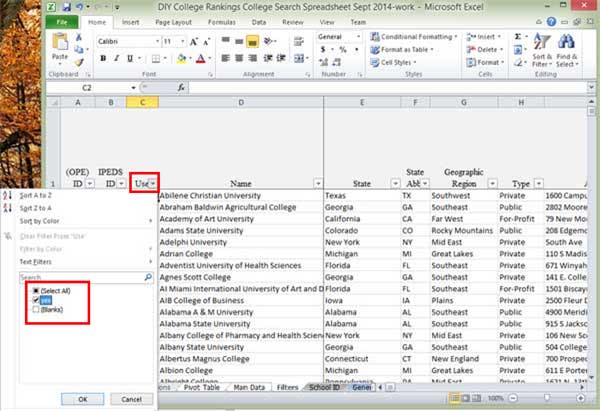
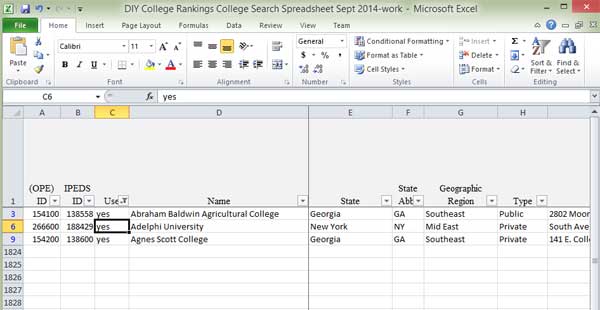
Now you will only see the schools where you have entered “yes” under the Use column.
You can eliminate the filter and see all of the schools again by clicking on the Filter icon at the top of the Use column and selecting Clear Filter from Use.
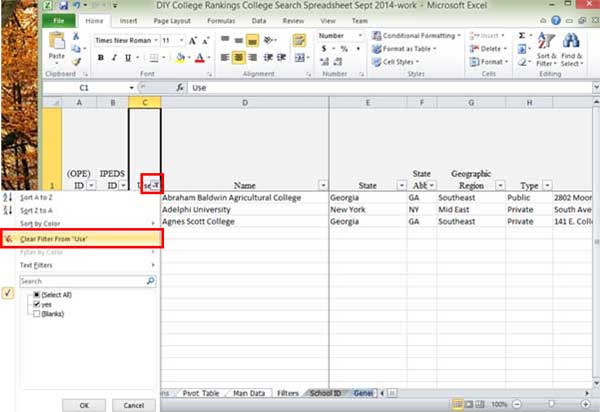
Now you’ll see all of the schools again.
I’m going to go into more detail on filters and data types in future lessons. Hopefully, this is enough to get you started on identifying schools most likely to meet your needs and preferences.
2 thoughts on “Creating College Lists 101: Inserting Columns”