 In this lesson I’m going to show you how to open and save the Excel spreadsheet. I know this is still pretty basic but I really want to emphasize the important of creating a backup file. While I’ve “write protected” some of the tabs to ensure a copy of the data is always available in the file, it doesn’t do any good when the file itself disappears.
I’m using Excel 2010 to demonstrate the spreadsheet since it seems to be the version most people are working with. If you have the opportunity to upgrade to 2013, I suggest you do so if only so that the Excel windows are really separate windows. If you know what I’m talking about, you know how annoying the single window is in 2010. If you don’t know what I’m talking about, it’s probably not a big deal for you but hopefully you’ll understand by the end of these lessons.
Opening the File From Excel
After you start Excel, you need to open the spreadsheet file. Click on the File menu and then Open. This will open a window to select the file to open as seen below. After the first lesson, you should know where you saved the spreadsheet file. I want to take this opportunity to make sure everyone understands some the basics of navigating the folders using the following example.
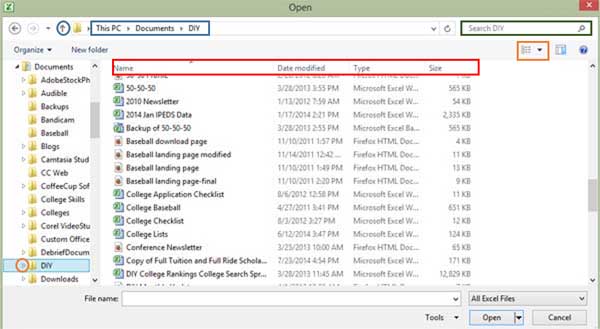
Navigating the Folders
The blue box shows your current location. By clicking on the arrow seen in the blue circle, you navigate to parent level, in this case the Documents folder.
Selecting a folder from the navigation tree on the left hand side of the box will cause all of the folders and files available in the folder to display on the right hand side. In the example, all of the files and folders in the DIY folder are showing.
You can access the child folders (subfolders) through the navigation tree by clicking on the arrow as seen in the red circle. The content of the child folder won’t display until you actually click on it.
Using the Columns
If you’re like me and have a lot of files in any one folder, sorting by the column headings as seen in the red box can be very useful. I’m just as likely to sort on the Date modified to find the file I’m currently working on as by the name.
If you don’t see these columns, first make sure you have the view set to Details by clicking on the arrow on the icon as seen in the orange box. If you still don’t see all of the columns, move your mouse over the column headings and then right-click. This will display a menu of all the column options available. Just check the ones you want to use.
Searching
There will be times when you still can’t find the file you’re looking for. This generally happens to me when I haven’t been paying attention and do a “save as” without realizing that it wasn’t in the location I thought it was. Excel will default to the last folder used for saving which may not be the one you want.
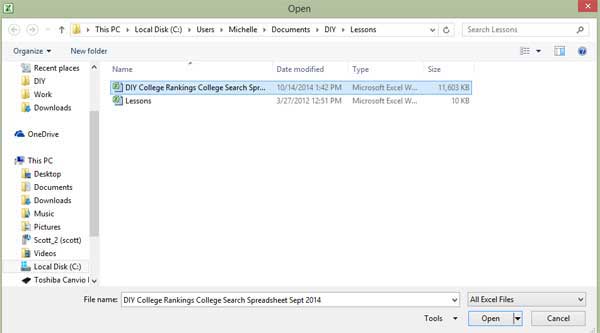
At this point, you should use the search field as seen in the green box. You can enter the entire file name or just part of it into the field and Windows will search the current folder for matches. Windows indicates which folder is being searched as seen in the example “Search DIY.” Only files in the DIY folder are included in the search. To expand your search, move to a parent folder, in this case Documents, to include more files.
Once you find the file, you can open the spreadsheet by double clicking on it, or highlighting it by clicking on it once and then selecting the Open options at the bottom right hand part of the box.
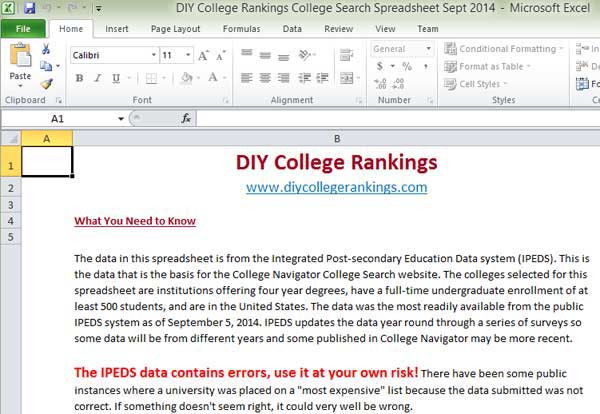
When you open the spreadsheet file, you should see the following:
Create a Backup File
Before you go any further, I strongly recommend you create a backup of the file. There are multiple ways of doing this from within Excel or the Windows Explorer. I’m going to provide my preferred method.
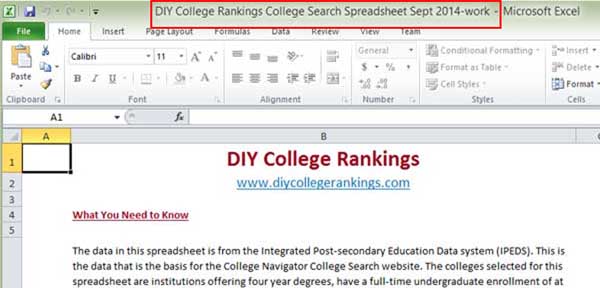
As soon as you open the spreadsheet, go to the File menu and select Save as. The Windows Explorer dialog box should open again and you should see the folders and files as earlier. I just add the word “work” to the file name and then save the file.

I will do all of my work with the “work” file leaving the original file available as a backup as needed.
After you do the Save as, you should see the new file name appear at the top of the window as seen in the red box.
Some people create a “work” folder to store all of their work files and keep the originals in a separate folder. If you do this, I still recommend changing the name of one of the files since it’s very easy to overwrite a file with the same name if you accidentally save to the wrong folder.
Once you have opened and saved the file, you don’t have to use the Open option to access the file in the future. Instead, select the Recent option and Excel will display your most recent worksheets (red box) and folders (green box) used. (This is different in Excel 2013 where the Recent option has been merged under the Open option.)
If either the file or location is something that you use frequently, you can pin it to appear at the top of listing by selecting the pin that appears next to the name which you can see in the blue circles in the example below.
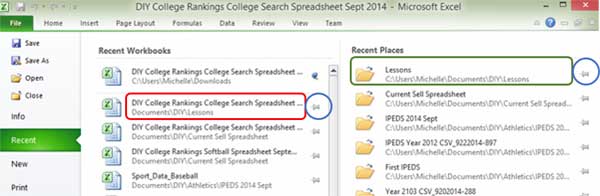
I open more of my files through the Recent option than the Open option.
In the next lesson we’ll start looking at some of the useful spreadsheet tools and features.
3 thoughts on “Creating College Lists 101: Opening and Saving the Spreadsheet”